

 Integrated Polishing System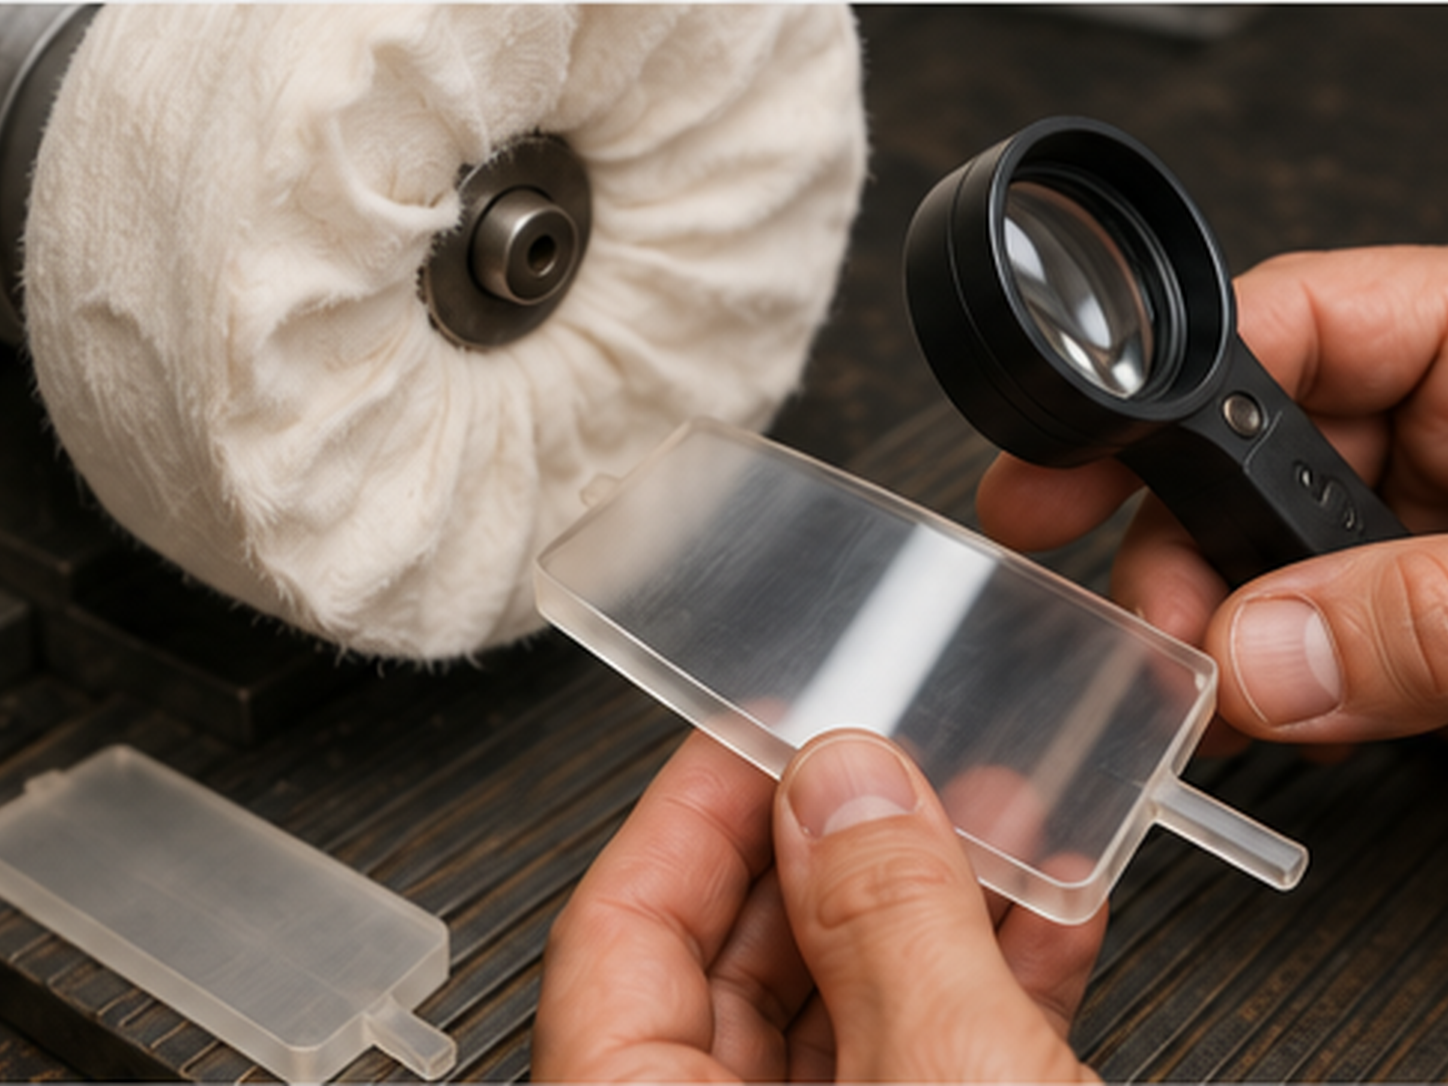
Polymer Polishing: LUXI Brown → LUXI Beige
This Workflow is intended for solid polymer materials:
- epoxy resins;
- acrylic and PMMA;
- polycarbonate;
- polyester resins;
- UV resin.
Polyurethane requires a separate test. Polyurethanes vary greatly in hardness, fillers and heat response, so they must not be placed automatically into the general LUXI Brown → LUXI Beige Workflow.
This page does not apply to lacquer, e-coat, PVD/CVD, plating or another coating on metal. When the surface is a coating rather than solid polymer, standard polishing must not be applied without a separate decision.
Establish a safe setting first
Before working on the item, test-polish an unwanted sample of the same material.
Use Testing the Polymer Heat Limit Before Polishing to establish a safe combination of:
- speed;
- pressure;
- contact time;
- wheel type;
- cooling interval.
The earliest instability signs may be identified on an unwanted sample. Never deliberately search for the overheating limit on the real item. The working setting must remain below the observed boundary.
Surface preparation
Finish wet sanding with a sufficiently fine abrasive. For many materials, 800–1000 grit is a practical starting point.
This is not a universal requirement for every polymer. Softer, thinner, filled or especially heat-sensitive materials may require different preparation.
Before polishing, the surface should be:
- evenly sanded;
- free from abrasive dust;
- free from deep scratches;
- free from pronounced waves;
- free from areas where the shape still requires correction.
Polishing must not replace incomplete sanding or defect repair.
Stage 1: LUXI Brown
Use:
LUXI Brown + white stitched muslin buff
approximately 1000 rpm
light pressure
minimal compound
short controlled contacts
The purpose of the first stage is to reduce the even sanding haze, smooth the remaining fine preparation marks and form an even surface for finishing.
Do not try to obtain final gloss during the LUXI Brown stage. When the surface cannot be improved without strong pressure or prolonged contact, stop and check the preparation or test setting.
White stitched muslin is the basic wheel for this stage. A firmer or more structured wheel may heat a sensitive polymer more quickly and must not be substituted automatically.
Inspect after LUXI Brown
After several short contacts, withdraw the part completely from the wheel, allow it to cool and inspect it under good light.
Proceed to LUXI Beige only when:
- the sanding haze has decreased evenly;
- the surface is not softening;
- the compound and polymer are not smearing;
- the edges retain their shape;
- no persistent local clouding appears;
- the result is repeatable on the test sample.
Final stage: LUXI Beige
For finishing, use:
LUXI Beige + white unstitched muslin or white unstitched flannel buff
approximately 500–1000 rpm
light pressure
minimal compound
short controlled contacts
The best combination differs between polymers. At low speed, the difference between soft unstitched muslin and flannel is less important than:
- heat control;
- short contact time;
- avoiding excessive pressure;
- frequent inspection;
- complete cooling between contact series.
Select the wheel and speed by test polishing. Do not transfer the LUXI Brown setting automatically to the LUXI Beige stage: a different compound and wheel change the surface response.
The purpose of LUXI Beige is to bring the prepared polymer gently toward a clean gloss without smearing, waviness or loss of shape.
When to stop
Stop contact immediately when:
- the surface becomes tacky;
- the polymer or compound begins to smear;
- the material softens or moves;
- an edge begins to lose its shape;
- waviness appears;
- clouding increases instead of decreasing;
- a persistent local mark appears;
- the result becomes unstable.
Do not compensate for slow progress with more pressure, more compound or prolonged contact.
Stop and return to a safer setting:
- reduce pressure;
- shorten contact;
- allow the surface to cool completely;
- reduce speed when necessary;
- check wheel cleanliness and softness;
- improve surface preparation.
Final inspection and cleaning
After finishing, inspect the surface under good light.
Check:
- clarity of gloss;
- remaining scratches and preparation marks;
- local clouding;
- smearing;
- waviness;
- preservation of edges and shape.
For basic cleaning, use water with non-aggressive soap, then rinse and dry the item carefully.
Do not prescribe automatically:
- iClean;
- ultrasonic cleaning;
- solvents;
- hot water;
- a heated cleaning solution.
The acceptable cleaning method depends on the specific polymer, fillers, degree of cure and item construction.
Main rule
LUXI Brown forms the surface after correct wet sanding. LUXI Beige brings the prepared surface toward gloss.
A safe result comes not from maximum speed or pressure, but from repeatable short contacts with heat control and continuous inspection.