
 Integrated Polishing System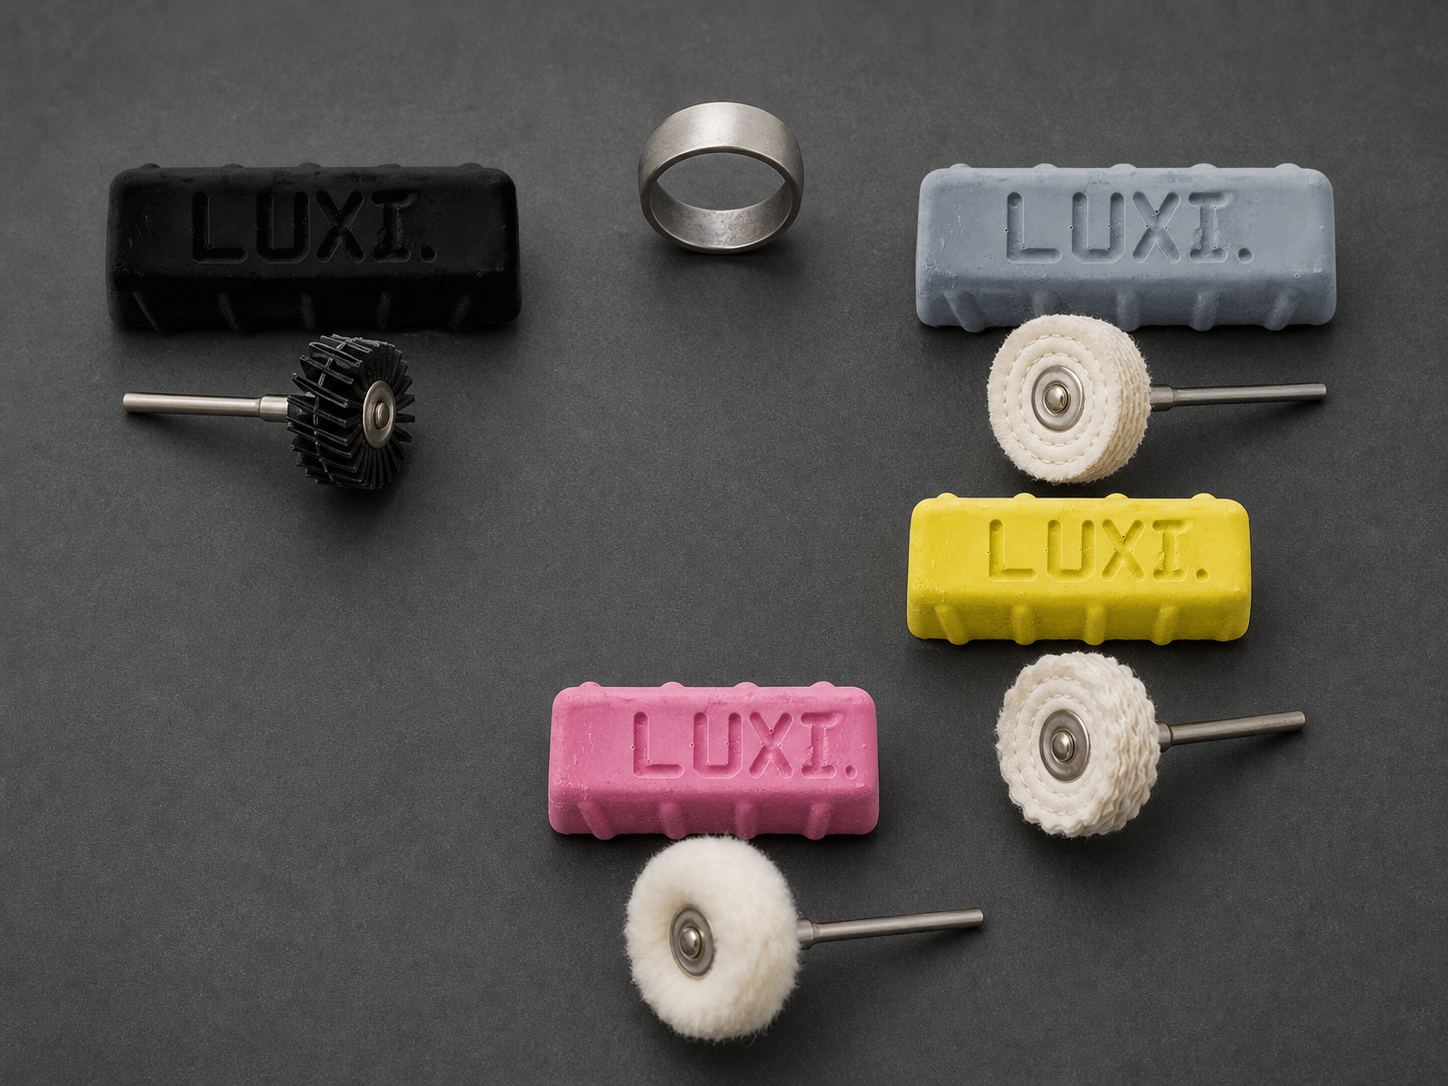
This workflow describes controlled polishing routes for stainless steel and Co–Cr. It does not apply to platinum, titanium, or soft metals; those materials use separate workflows.
LUXI Black, LUXI Gray, and LUXI Yellow do not form one mandatory sequence. Select the starting branch according to preparation, hardness, contact area, and actual surface condition. Use LUXI Pink only after the preceding stage has been fully completed.
Entry condition
Complete the item geometry, required repair, and even abrasive preparation before polishing. Resolve deep scratches, cracks, open cavities, unfinished shape correction, and other defects that polishing must not correct.
For stainless steel, P1000–P1200 may be a starting point for LUXI Gray, while large smooth flat surfaces may require P1500 or finer. These values do not replace visual inspection. No universal abrasive grade is assigned to Co–Cr; preparation depends on the particular alloy, geometry, and selected branch.
Route 1 — LUXI Gray → LUXI Pink
Use LUXI Gray as the active first stage when it can fully remove the visible marks from the last abrasive.
Select the LUXI Gray working tool from its product-specific card. Depending on the required action and geometry, the confirmed options include sisal, a normal stitched cotton wheel, or a treated stitched cotton wheel. No single cotton-fabric family is established for LUXI Gray, so Calico, muslin, or another name must not be inserted automatically.
The first stage is complete when the cleaned surface shows no visible marks from the last abrasive, the surface is even, and the intended shape, edges, and relief are preserved.
After all LUXI Gray and removed metal have been eliminated and the item has been cleaned, cooled, and inspected, move directly to LUXI Pink only when the surface is genuinely finish-ready.
Use LUXI Pink on a separate clean white unstitched Calico wheel. Muslin, flannel, felt, and stitched cotton wheels are not the primary LUXI Pink tools.
Route 2 — LUXI Gray → optional LUXI Yellow → LUXI Pink
Use LUXI Yellow as an optional intermediate transition when a fully completed LUXI Gray stage leaves a trace that should be softened before finishing.
Use LUXI Yellow on a separate clean white stitched Calico wheel. It must not correct an incomplete LUXI Gray stage. If cleaning still reveals marks from the last abrasive or pronounced unevenness, return to preparation or the LUXI Gray stage.
After LUXI Yellow is complete, clean and cool the item fully and use LUXI Pink on a separate clean white unstitched Calico wheel.
Route 3 — LUXI Black → optional LUXI Yellow → LUXI Pink
Choose LUXI Black when stainless steel or Co–Cr requires stronger action than LUXI Gray can provide with correct preparation and a suitable tool.
Select the LUXI Black tool from its product-specific card. Sisal provides the most aggressive action; other confirmed tools are selected according to contact area and geometry. This workflow does not prescribe sisal automatically for every item.
LUXI Black must fully complete the selected strong first stage. After cleaning, assess the trace it leaves. When a softer transition is needed before LUXI Pink, use LUXI Yellow on a separate white stitched Calico wheel. LUXI Yellow is not mandatory after every LUXI Black stage.
Move to LUXI Pink only after the selected branch has fully removed its entry marks and left an even finish-ready surface.
Special LUXI Black → LUXI Gray transition
Use LUXI Black → LUXI Gray only when the strong LUXI Black stage was necessary but its remaining trace requires a separate LUXI Gray stage before finishing.
This is a special branch, not a universal sequence. After LUXI Gray, move directly to LUXI Pink or use optional LUXI Yellow only when a softer intermediate trace is genuinely required.
Operating conditions
For a standard wheel approximately 150 mm in diameter, 2500–3000 rpm is the working starting range for the confirmed combinations. Do not transfer this range automatically to another diameter, a small tool, or another contact area. Consider linear surface speed, wheel stability, rpm drop under load, temperature, and actual material behaviour.
Use a separate clean tool for every compound. Apply each compound minimally according to its product-specific loading rule. Do not create a thick layer of compound and removed metal between the wheel and the surface.
Work in short passes, keep the item moving, control pressure and temperature, and clean the working tool regularly. Do not compensate for incomplete preparation or an overly soft tool with excess compound, increased pressure, or prolonged continuous contact.
Cleaning between stages
Before changing products, remove the preceding compound, removed metal, and wheel contamination completely. Allow the item to cool and inspect the surface under directed light.
Select the cleaning method for the whole item: material, construction, stones, inserts, joints, coating, and next operation. LUXI iClean, ultrasonic cleaning, heated solution, solvent, and steam are not prescribed automatically.
Completion criterion
The process is complete when the fully cleaned, dry, and cool surface shows:
- no visible marks from the last abrasive or previous stages;
- an even reflection matching the required mirror finish;
- no dull zones, contamination, or compound in recesses;
- preserved edges, relief, and intended geometry;
- a stable result after cleaning and cooling.
Stop conditions
Stop if the process produces overheating, waviness, loss of flatness, edge loss, relief smoothing, increasing haze, unstable lustre after cooling, opened or growing pores, cracks, or cavities, or a change in a coating.
These conditions require a return to preparation, repair, or production-suitability assessment rather than an automatic increase in compound, pressure, or contact duration.
Coatings
Do not mechanically polish a thin decorative, protective, electroplated, or PVD coating that must be preserved. Identify an unknown coating first. A sufficiently thick and stable layer permits only a separate test-based assessment on a sample or non-critical area; a successful general test does not create an automatic recommendation for this route.