
 Integrated Polishing System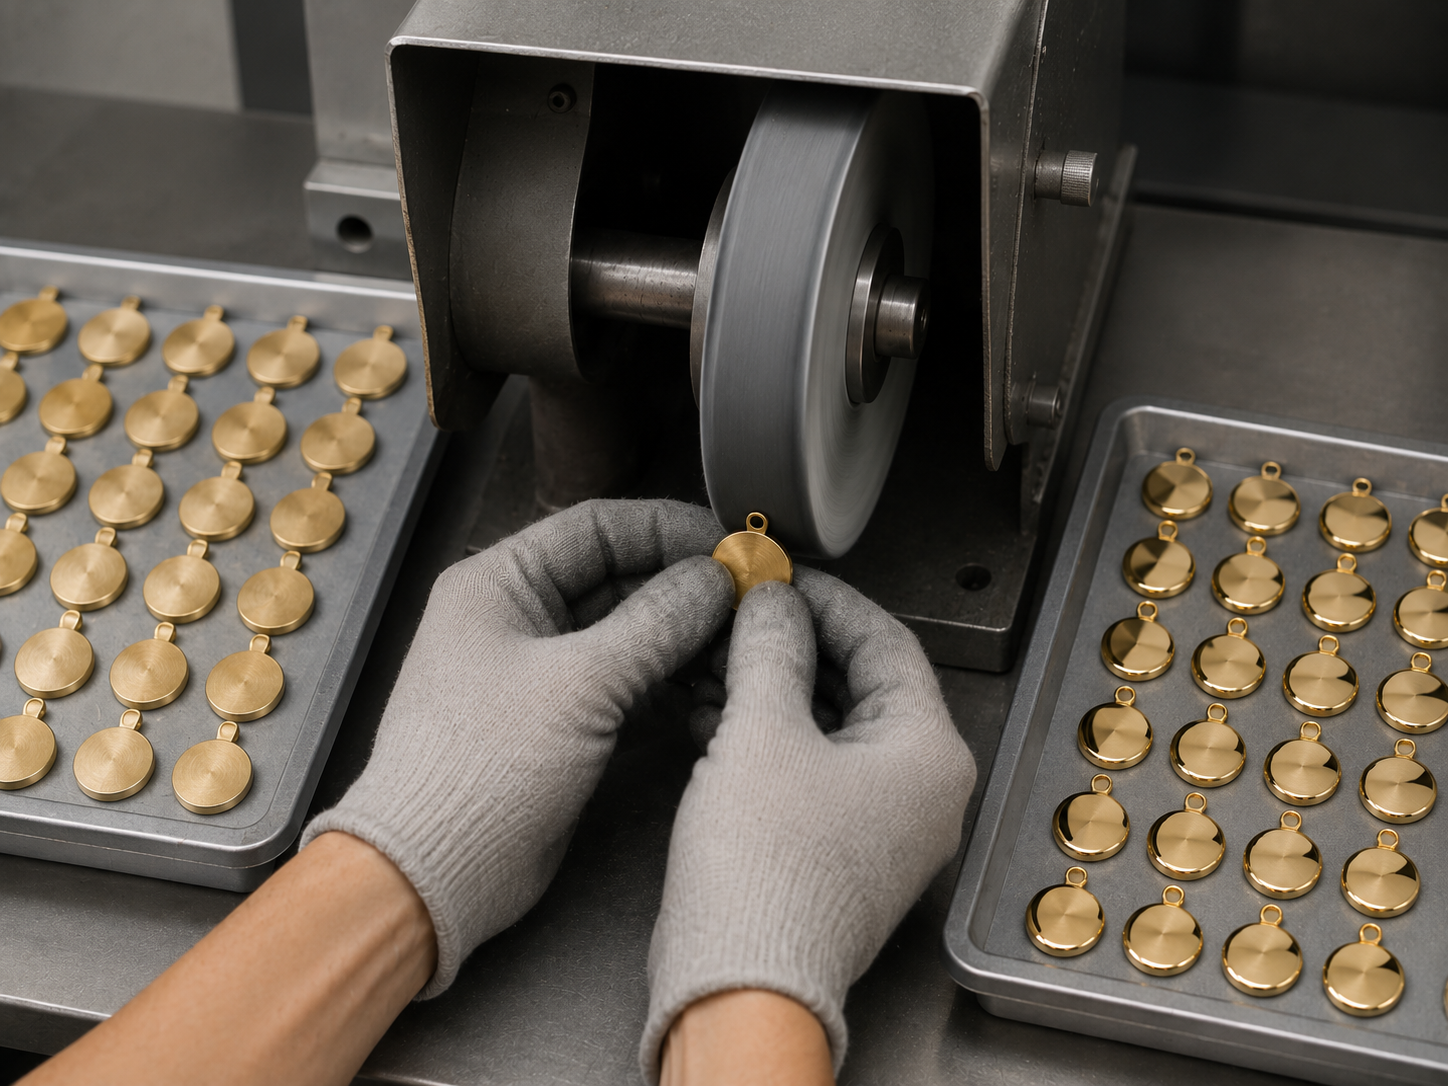
Planar items polish worse because the interaction area with the wheel is much larger. Learn more: “Why planar items require more aggressive processing.”
For planar items, do not try to intensify the work by pressure or excess compound. The correct adjustment is different: a more active compound, a more active wheel, finer preliminary surface preparation and, in some cases, a smaller interaction area.
When this workflow is needed
Use this workflow when the basic route for first-group materials works too slowly or does not give a stable result on a large planar surface.
Typical cases:
- a large planar or near-planar surface;
- a wide area where waves and preparation marks are clearly visible;
- a hard alloy;
- an item after sanding where the surface must be formed quickly and predictably;
- serial production where speed, repeatability and reduced rework are important;
- a situation where a soft setup works on one item but is too slow or unstable for a batch.
What is usually done wrong
When the result on a planar surface looks weak or slow, the operator often tries to compensate in two ways: pressing the item harder against the wheel or applying more compound.
Both decisions reduce process control.
Excessive pressure can lead to overheating in the contact zone, waves, uneven metal removal and loss of flatness. Excess compound creates a thick intermediate layer between the wheel and the item, contaminates the wheel and returns the process to ordinary abrasive logic with higher metal removal and less control of geometry.
The correct path is to change the working setup of the first polishing stage itself.
How the first polishing stage is intensified
The first polishing stage for planar items is intensified through a combination of methods.
1. More active compound
If the basic compound works too slowly or does not give a repeatable result on a large planar surface, move to a more active compound for the first polishing stage.
For first-group materials the usual axis is:
LUXI Blue → LUXI Yellow → LUXI Gray → LUXI Black
This does not mean that you must always start with the most active compound. Start with the setup that gives the required speed and quality without unnecessary metal removal. But on large planar surfaces, a more active compound can be the correct production decision.
2. More active wheel
In the LUXI system, the wheel remains the main working body. The compound is used in a small amount: it activates the contact zone and supports formation of the surface layer, but must not become a thick working layer between the wheel and the item.
Therefore one correct way to intensify the first polishing stage is to move to a more active wheel.
If the white stitched muslin buff is too soft or too slow for a more difficult task, choose a more active wheel. The most active configuration of the first polishing stage in this logic is LUXI Black + sisal wheel.
This setup is used for genuinely difficult cases: large planar items, hard alloys, difficult preparation or a production task where a softer setup does not give the required speed and repeatability.
LUXI Black + sisal must not be a universal starting point. If it is used without need, it can cause excessive metal removal, weaken flatness control and damage the item geometry.
3. Finer preliminary surface preparation
The more difficult the planar surface, the less it makes sense to solve the task by polishing alone.
On ordinary items, it may sometimes be acceptable to start polishing after preparation around 600 grit. For large planar surfaces, hard alloys and demanding production tasks, it is better to prepare the surface at least to 800 grit, and often to 1000 grit.
Finer preliminary preparation reduces the load on the first polishing stage. The wheel and compound do not have to correct overly coarse preparation marks, and the result becomes more predictable.
4. Smaller interaction area
Another way to increase working effect is to reduce the contact area.
If the wheel is narrower, the interaction zone becomes smaller and the work is concentrated more precisely. This can intensify the effect without crude pressure increase.
For such tasks, narrow wheels such as Razor Edge buff / Razor Edge buffing wheel may be used. This is not a cutting disc and not a cut-off tool, but a narrow fabric polishing buff. It helps work through a narrower contact zone and gives better control on long or sensitive surfaces.
This logic is used, for example, in polishing musical wind instruments and other items with long smooth surfaces.
Learn more about wheel types: “Wheel types in the LUXI system.”
How to work with a planar surface
Before starting, evaluate the surface under good light. Check for deep scratches, waves, coarse preparation marks or areas where geometry is already damaged.
Choose the first-polishing-stage setup: compound, wheel, surface preparation level and width of the working zone. Then make a short pass and stop for inspection.
On a large planar surface, do not work for a long time without intermediate checks. The surface may start looking shiny while developing waves or losing shape.
If the result is weak, first check:
- whether the surface is prepared finely enough;
- whether the compound is too soft for the task;
- whether the wheel is too soft or too wide;
- whether the wheel is overloaded with compound;
- whether a more active first-polishing-stage configuration is needed;
- whether contact area should be reduced with a narrower wheel.
Production setup
For a single item, an experienced jeweller may sometimes obtain the required result with a softer configuration. In production, this is not always the best choice.
If a batch must be polished consistently, it is better to choose a setup that gives repeatability at real working speed and with an average operator’s skill level.
A more active compound, a more active wheel, finer preparation or a narrower contact zone can increase productivity and make the result more controllable.
A LUXI production route is a balance between metal preservation, speed, stability, surface quality and acceptable metal removal.
When to stop
Stop and review the setup if:
- the result is achieved only through increased pressure;
- the operator wants to keep adding compound;
- the planar surface starts losing geometry;
- waves or uneven zones appear;
- scratches and preparation marks do not disappear predictably;
- the wheel is overloaded with compound;
- the surface is contaminated by compound residue and removed metal.
In such cases, check preparation, wheel, compound, contact-zone width, pressure, speed and process sequence. Sometimes it is better to return to surface preparation than to intensify polishing by pressure.
Transition to finishing
Move to finishing only when the planar surface has already been formed: the surface is even, clean and predictable, without deep scratches, coarse preparation marks or shape errors.
Finishing compound must not do the work of the first polishing stage. Its role is to bring an already formed surface to final lustre quality.
After finishing, clean the item and inspect it again under light, because a large planar surface clearly shows any remaining preparation marks or uneven work.
Next step
If you are choosing the basic route, start with “Basic LUXI production route for first-group materials.”
If the surface is not yet ready for polishing, start with “Surface preparation before LUXI.”
If the problem is a dirty or overloaded wheel, open “Wheel preparation and minimal LUXI compound application.”
Related pages:
- Basic LUXI production route for first-group materials
- Surface preparation before LUXI
- Wheel preparation and minimal LUXI compound application
- LUXI Blue
- LUXI Yellow
- LUXI Gray
- LUXI Black
- Final lustre for gold
- Final lustre for silver
- Washing after LUXI polishing
- Why planar items require more aggressive processing
- Wheel types in the LUXI system