
 Integrated Polishing System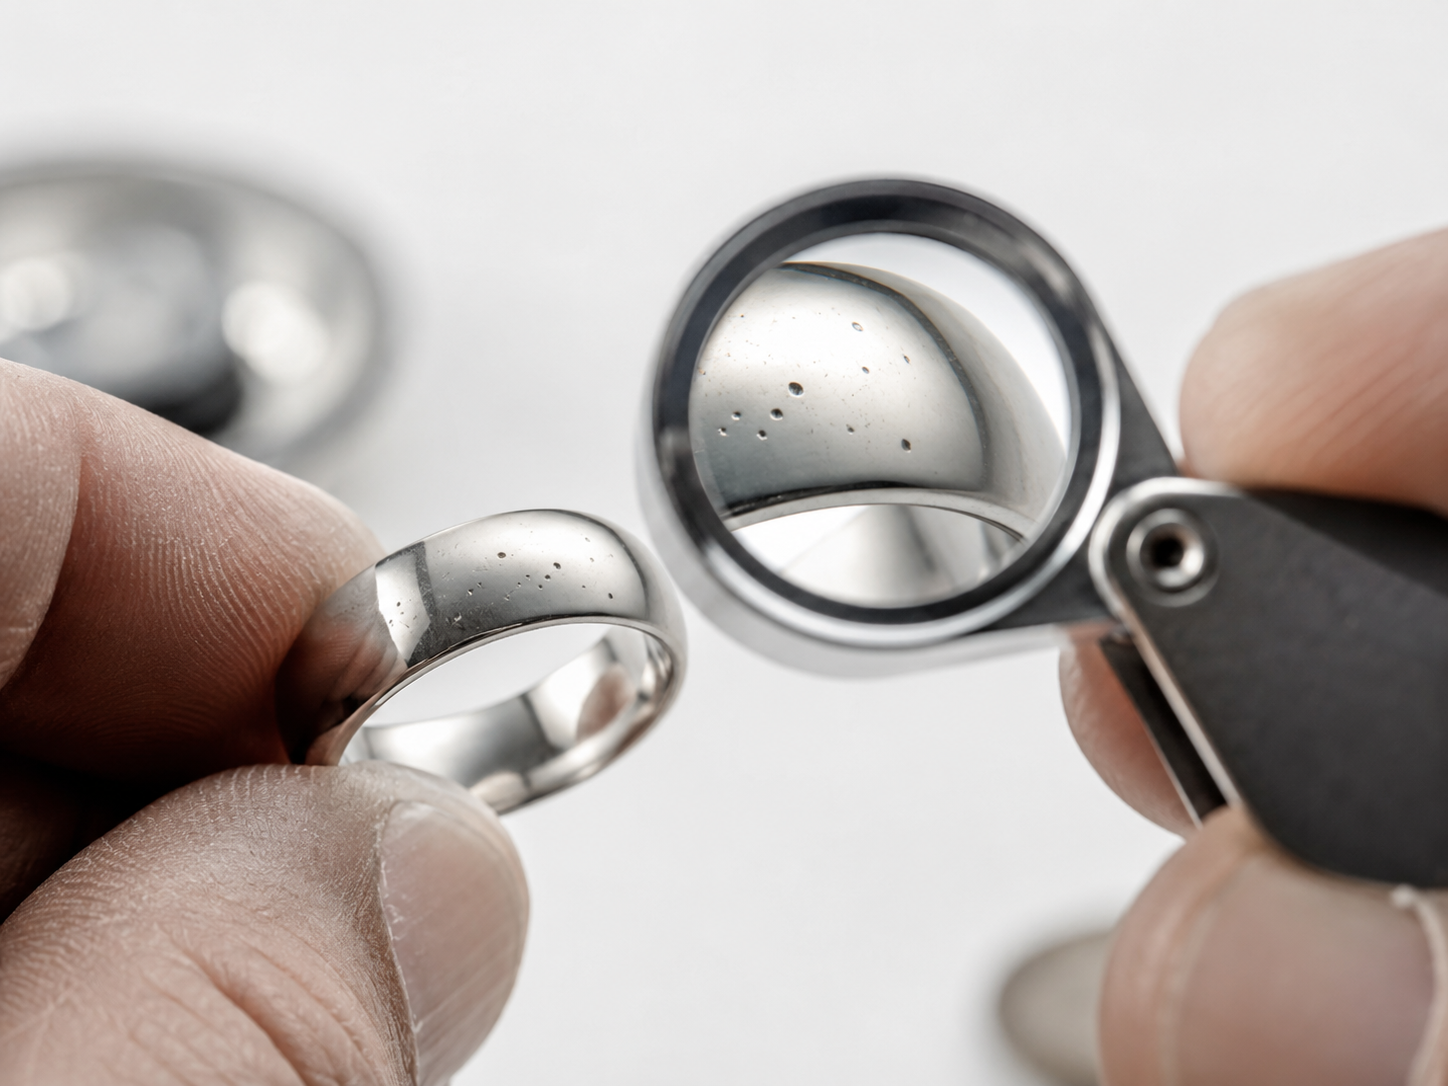
This workflow describes a diagnostic test polish. Its purpose is to distinguish compound residue, removed material, wheel contamination, and incomplete preparation from pores, cracks, cavities, depressions, and other defects that cannot be corrected by continuing to polish.
A test polish is not a universal product-selection route and does not replace surface preparation. It also does not prove that polishing “created” or “closed” a structural defect.
When to use the test
Use this workflow when preparation or a short working pass leaves uncertainty about whether:
- a visible mark is a real defect or only compound and removed material;
- the remaining irregularity belongs to the current preparation stage;
- the selected route can continue without loss of geometry;
- a defect becomes visible only after cleaning;
- the result remains stable after cooling and re-inspection.
If the material, coating, or item construction is unknown, identify it first. When damage risk is high, test a matching sample or non-critical area.
What to use
Use the product, working body, loading rule, and operating conditions already approved for the specific material and current stage in the corresponding LUXI product card.
This shared workflow does not prescribe one compound, one wheel, one speed, or one mandatory sequence for every material. LUXI Asian Blue, LUXI Black, LUXI Blue, LUXI Brown, LUXI Gray, LUXI Green, and LUXI Super Fine White perform different roles. LUXI Sample Assortment may support controlled comparison, but it is not a sequence of every sample.
The working tool must be clean and appropriate for the selected compound. Compound amount and loading must follow the product-specific rule. Do not compensate for weak or uncertain action with excess compound, increased pressure, or prolonged continuous contact.
Establish the starting condition
Before testing:
- Complete geometry and required repair to the level needed before the selected stage.
- Remove protruding defects and coarse preparation marks that polishing must not correct.
- Clean the surface and selected working tool of previous compound and contamination.
- Inspect the problem area under directed light and use magnification where useful.
- Record the starting condition with a photograph or note when the result must be compared or handed to another specialist.
Make a short test
Apply a short diagnostic polish only to the selected area. Keep the item moving, control pressure and temperature, and do not change several variables at once.
When comparison is needed, change one variable at a time:
- product;
- working tool;
- speed;
- pressure;
- contact duration;
- preparation condition.
After each change, withdraw the item completely and inspect the result. Do not continue until edges are lost, relief is smoothed, heat builds uncontrollably, or geometry changes.
Clean before assessment
Before drawing a conclusion, remove completely:
- compound residue;
- removed material;
- greasy film;
- working-tool contamination;
- residue in pores, relief, recesses, inside corners, and joints.
Select the cleaning method for the whole item: material, construction, stones, inserts, adhesive joints, coatings, and next operation. LUXI iClean, ultrasonic cleaning, heated solution, solvent, and steam are not prescribed automatically.
After cleaning, dry the item completely, allow it to cool, and inspect the area again under directed light and magnification where required.
Interpret the result
The mark disappears after cleaning
It may have been compound residue, removed material, or contamination. Do not classify a mark as a defect from its appearance before cleaning alone.
Surface marks decrease evenly
If the surface improves without shape loss, overheating, or new damage, continue only within the product-specific process. Polishing may reduce small near-surface irregularities within its working range, but it does not fill or repair structural defects.
A defect remains after cleaning
A visible pore, crack, cavity, depression, or other defect that remains on the clean cooled surface requires a separate decision. Do not conceal it with more compound or increase pressure automatically.
The defect opens or grows
Stop polishing. Return the item to the appropriate preparation, repair, or production-suitability assessment. This workflow does not prescribe rejection or remelting automatically.
The result becomes unstable
If cooling or cleaning reveals haze, new marks, colour change, waviness, edge loss, or coating damage, stop and check the material, previous stage, tool, temperature, pressure, and cleaning method.
Coatings
Do not use this mechanical test on a thin decorative, protective, electroplated, or PVD coating that must be preserved. Identify an unknown coating first. A sufficiently thick and stable layer permits only a separate test-based assessment on a sample or non-critical area; a successful general test does not create an automatic recommendation for a particular compound.
Completion criterion
The diagnostic test is complete when the area is fully clean, dry, and cool and directed-light or magnified inspection supports one of three actions:
- continue the approved product-specific process;
- return to preparation or repair;
- pass the item to a production-suitability assessment.
Record the product, tool, and operating conditions used and what remained visible after cleaning. This is more meaningful than judging the surface immediately after wheel contact.